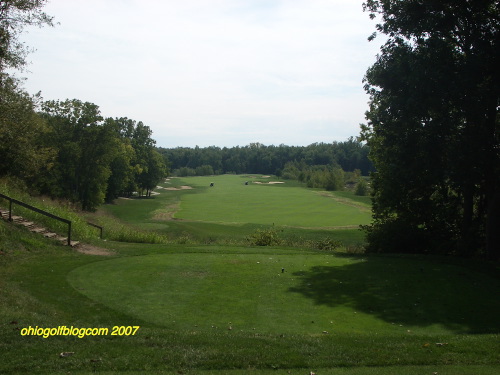
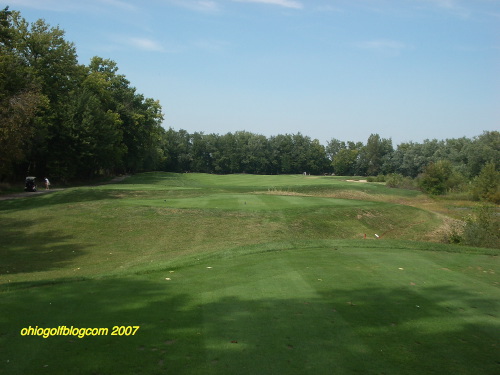
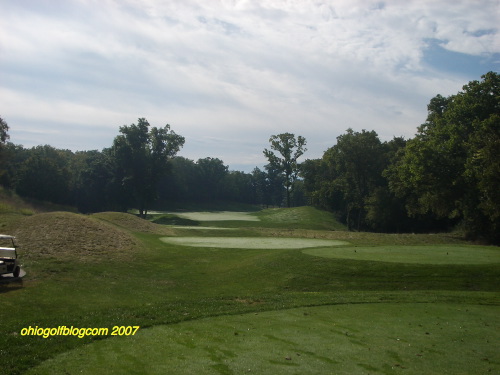
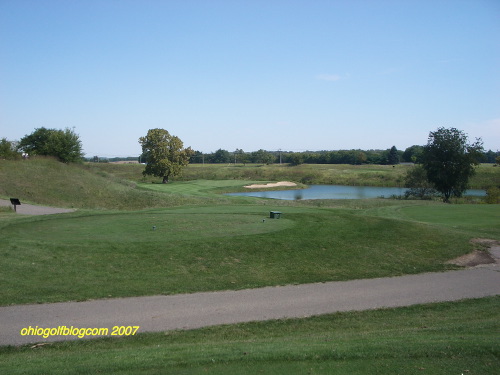
The opening par 5 at Cook’s Creek
Here’s the 528 yard (from scarlet tees) par 5 opening hole at Cook’s Creek Golf Course. It’s hard to miss this fairway but water lurks to the left and right on your second shot. Still, this is a fairly straightforward par 5 that offers a decent shot at birdie.
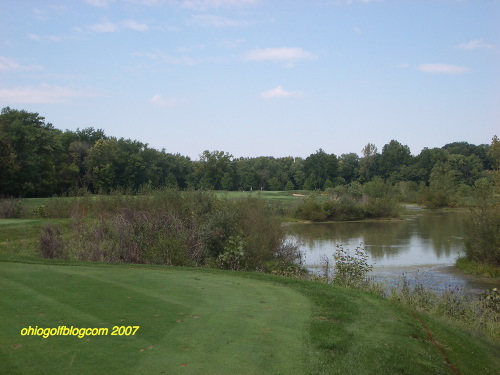
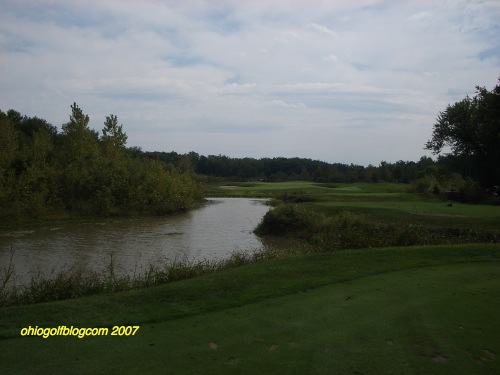
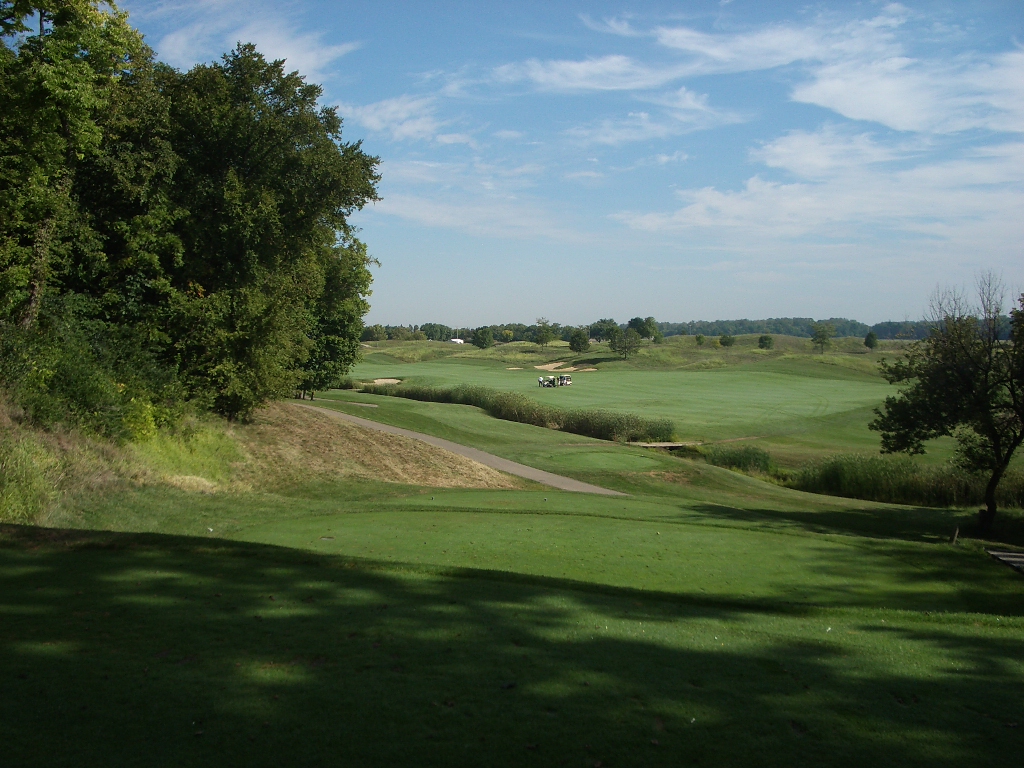
345 yard second hole at Cook’s Creek
The second hole offers a bit more of a challenge off the tee with water running all the way up the right side. This may affect your club choice off the tee. As it is a relatively short hole, you may be served better by leaving your driver in the bag.
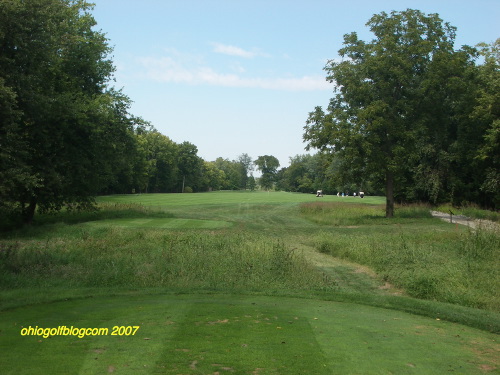
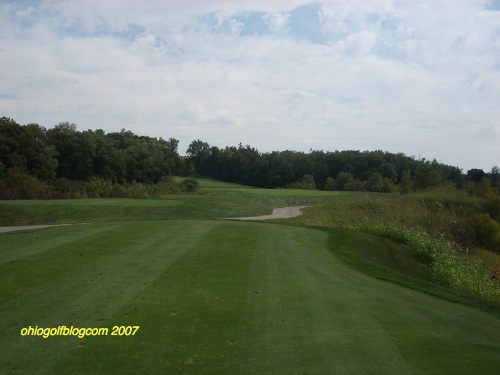
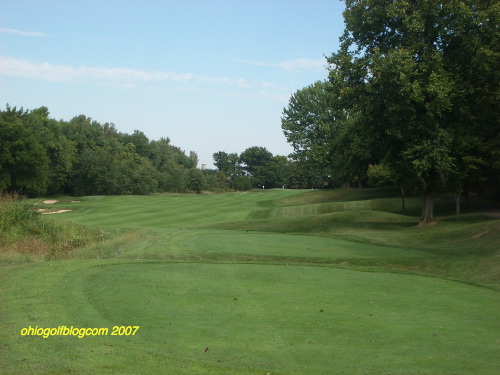
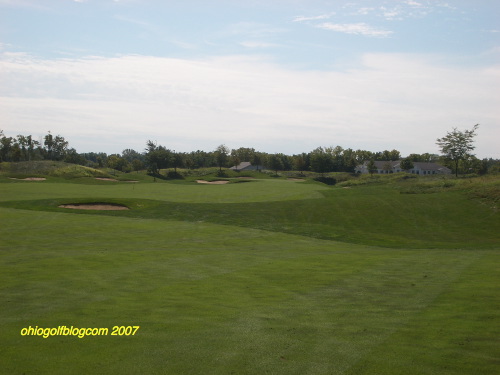
The #1 handicap and 3rd hole at Cook’s Creek
I’m not sure why this is the #1 handicap at Cook’s besides it’s length. It’s 427 yards from the scarlet tees and 455 yards from the very back tees. The fairway is fairly generous to accept most tee shots. But you are left with a long second shot to the green.
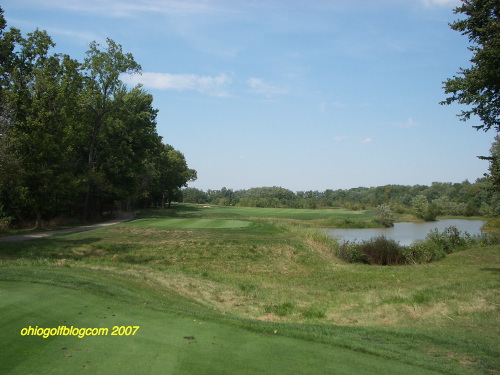
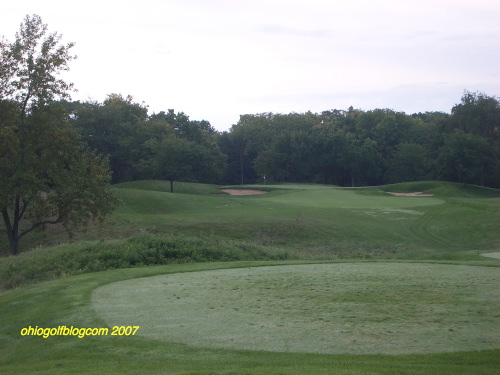
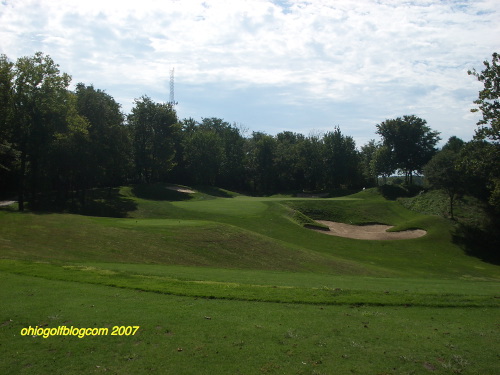
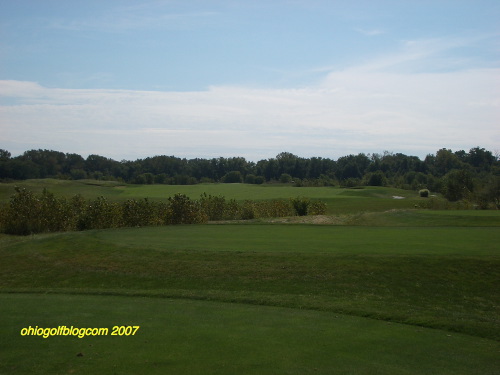
Fourth hole at Cook’s
After the third hole, Cook’s presents you with a much more manageable 383 yard par 4. Again, water up the right is the main concern but there is a generous fairway to find.
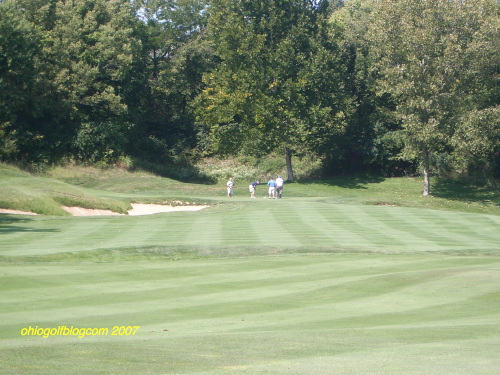
par 4 fifth at Cook’s Creek
The fifth hole is even more manageable at 378 yards. The main challenge is finding the green which is well guarded by bunkers especially with a back right pin position.
Par 3 sixth hole at Cook’s
After receiving a bit of a respite, the 208 yard par 3 sixth hole awaits you. From the tee, the green looks absolutely tiny, making this a very challenging tee shot. Hopefully, you picked the right tees to play from. From the middle tees, this is a more manageable 183 yard shot.
 Par 5 seventh at Cook’s
The par 5 seventh allows for a release of the pressure of the sixth. This 484 yard par 5 is reachable in two shots although the second one is entirely uphill. If you take bogey on six, then seven may be your birdie hole.
183 yard par 3 eighth
Although a bit shorter than the sixth, the eighth still presents a challenge. Only one of the par 3’s at Cook’s is a pushover and it isn’t this one especially with a front left pin position. The green is plenty big although it doesn’t look so from the tee.
Dogleg right par 4 ninth hole at Cook’s Creek
The ninth doesn’t require a long tee shot just a well positioned one. At 370 yards from the scarlet tees, it is well within the range of most golfers. Watch the tree on the right if you want to cut off some of the corner!
par 5 Tenth hole at Cook’s Creek Golf Course
The back nine also starts out with a fairly straightforward par 5 unless you are trying to get home in two. We were playing scramble format and hit 2 lousy shots and still had over 160 to the pin. All we needed was one good shot and we made birdie. The tenth really requires just one good shot to have a chance at birdie.

par 4 eleventh hole at Cook’s Creek
They’ve nicknamed the 11th, avarice, as if to warn you not to get greedy. Whatever! Of course, we were playing scramble format, but still hadn’t hit a decent shot when I came up last. We cranked one right in front of the left side of the green and did a little 3 wood chip to about 6 feet and had another birdie. The back nine starts you off pretty comfortably.
The 12th at Cook’s Creek
Here’s the 435 yard 12th at Cook’s. Although things started out easy, they get tougher now. Hug the right side but not too close as the trees will catch you.
123 yard Par 3 13th at Cook’s
If you bogied the 12th, don’t worry because the 13th is a pushover at 123 yards and a fairly generous green.

380 yard par 4 14th hole at Cook’s Creek
The par 4 14th is a little dogleg left. It’s a not too difficult par 4 and plays to the 14 handicap.
The challenging par 3, 15th at Cook’s
This is a tough hole from the scarlet tees. With the flag position back right you have to carry the water and the bunkers and then you don’t have much room to land it either. Don’t hit a weak fade here! You can always bail out to the left.
Par 5 16th
The 16th backs off the pressure a little bit after the harrowing tee shot on 15. This hole can be reached in two and should make for an easy par.
Par 4 17th at Cook’s
The 17th gets a little tricky on the approach shot. Interestingly there is a large bail out area to the left of the green.
Here’s the final approach into 18
If you can keep from going either left or right off the tee, you have relatively easy shot into the green at 18. Hope you had fun at Cook’s.
2 replies on “Cook’s Creek Golf Course”
[…] Sept. 13 at Cook Creek GC in Ashville, OH. 11:00 AM – 12: 21 PM tee times. $86 entry fee ($76 for VIPs) including riding cart. 2 Person Best […]
[…] April 19 – Cook’s Creek […]